Modern Canvas

Профессиональный визаж | Professional Makeup Artistry

Summer Makeup Trends

Summer Makeup Trends for 2024

As temperatures rise, makeup trends are shifting toward a fresh, luminous aesthetic that embraces both natural beauty and creative expression. This summer, we're seeing a delightful mix of minimalist approaches and bold accents that celebrate individuality.

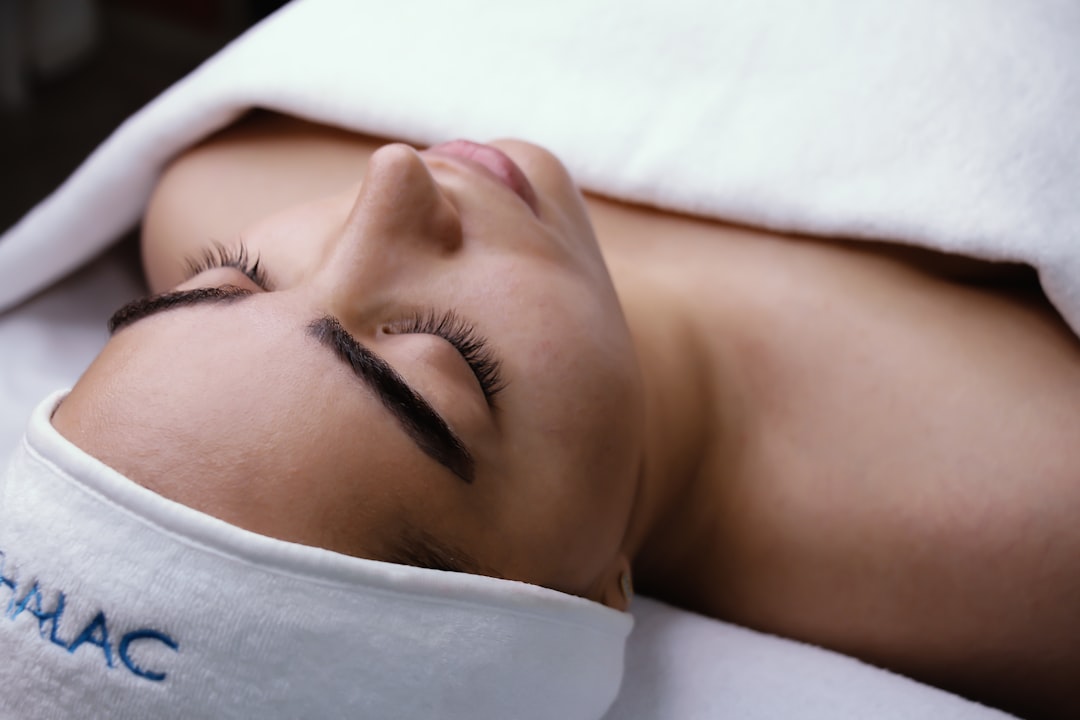
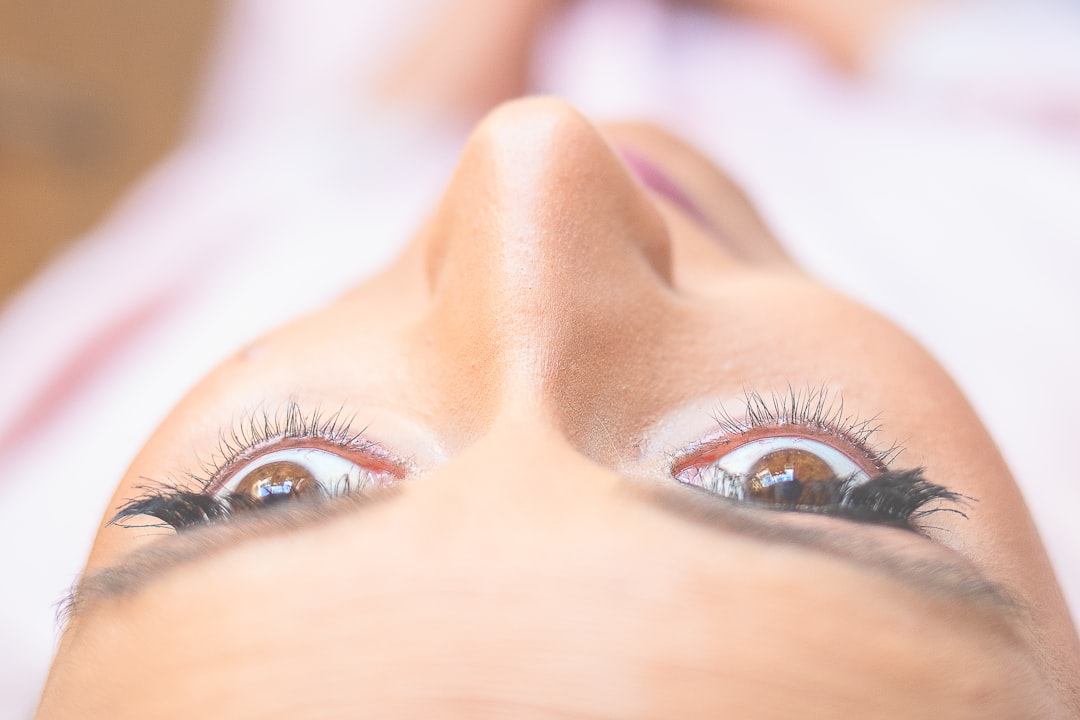
1. Luminous, Dewy Skin

The era of heavy matte foundation is behind us. Summer 2024 is all about luminous skin that looks hydrated and naturally radiant. Lightweight tinted moisturizers and skin tints are replacing full-coverage foundations, allowing freckles and natural texture to shine through. To achieve this look:

  • Start with hydrating skincare
  • Use a lightweight tinted moisturizer or skin tint
  • Apply liquid highlighter to high points of the face
  • Set minimally, only in areas prone to shine

2. Vibrant Blush Placement

Blush is having a major moment, with creative placement techniques gaining popularity. The "sunburn blush" trend continues, with color swept across the nose and cheeks for a sun-kissed effect. We're also seeing blush used to contour, with color placed higher on the cheekbones and temples for a lifted appearance.

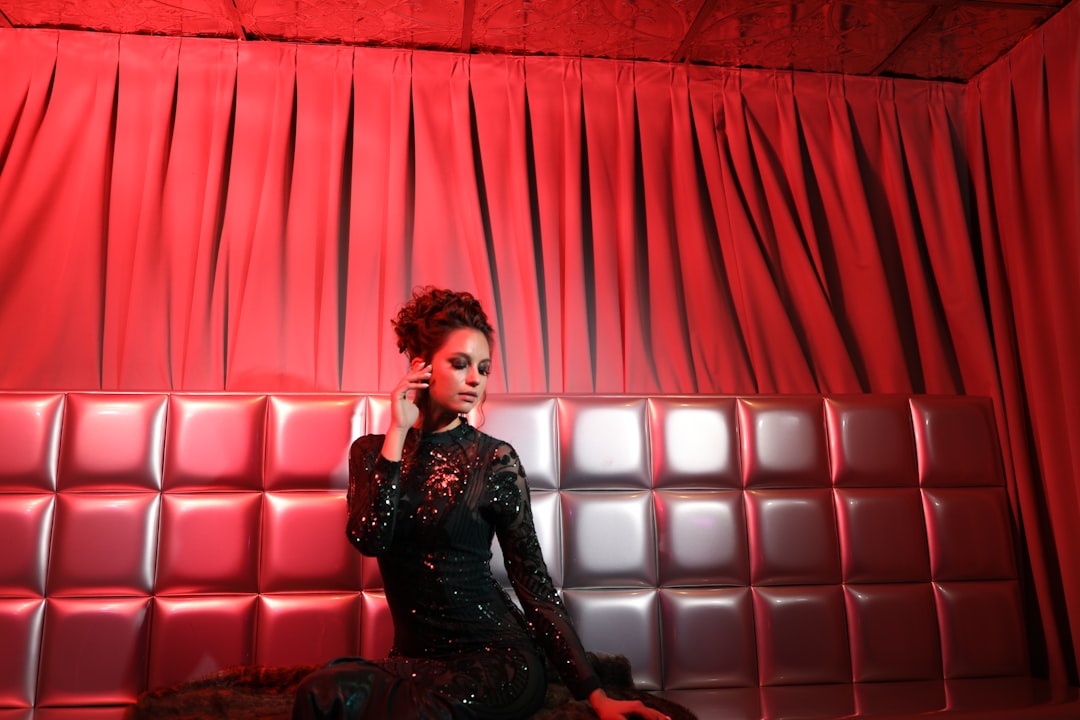
3. Bold Graphic Liner

While natural looks dominate the overall aesthetic, eyes are where we're seeing playful expression. Graphic liner in unexpected colors like cobalt blue, vibrant purple, and even neon green is adding personality to otherwise minimal looks. The key is to keep the rest of the makeup subdued when opting for a statement eye.

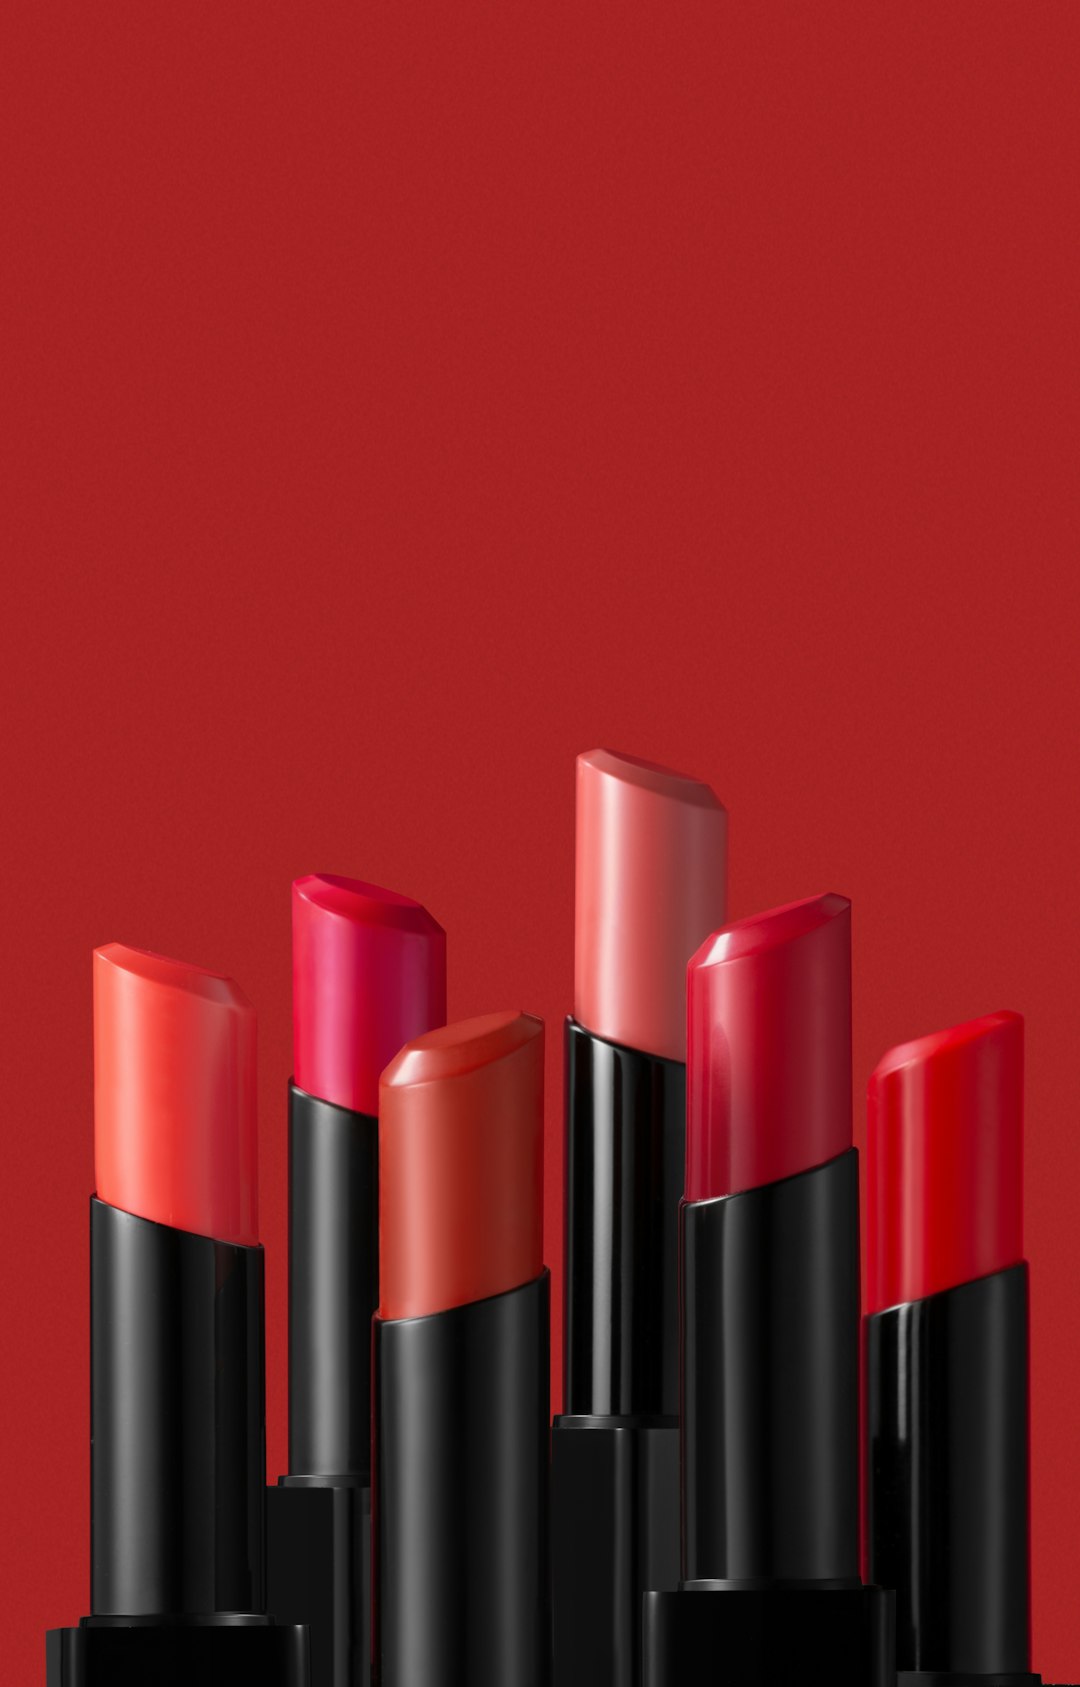
4. Glossy Everything

The high-shine trend extends beyond skin to lips and eyes. Glossy lids in transparent or softly tinted formulas create a modern, editorial look that's surprisingly wearable for summer evenings. Paired with glossy lips in juicy fruit tones, this creates a cohesive, fresh appearance.

5. Sunlit Bronzer Application

Bronzer application has evolved from traditional contouring to a more natural, sun-kissed placement. The "W" technique—applying bronzer across the forehead, cheekbones, and chin where the sun naturally hits—creates authentic warmth rather than sculpted definition.

The beauty of summer 2024 trends lies in their adaptability. These looks can be customized to suit any skin tone, face shape, or personal style. Whether you prefer a five-minute minimal routine or enjoy creating elaborate eye designs, there's room for creativity while staying on-trend.

Remember that the best makeup trend is the one that makes you feel confident and comfortable in your own skin!

Skincare Before Makeup

The Importance of Skincare Before Makeup

The secret to truly magnificent makeup doesn't begin with the perfect foundation or a precise application technique—it starts with skincare. As professional makeup artists, we can immediately tell when we're working with well-maintained skin versus skin that's been neglected.

Creating the Perfect Canvas

Think of your skin as an artist's canvas. Just as a painter wouldn't start on a damaged or poorly prepared surface, your makeup will never reach its full potential on dehydrated, textured, or irritated skin. A consistent skincare routine creates the smooth, receptive surface that allows makeup to blend seamlessly and last longer.

Essential Pre-Makeup Skincare Steps

For makeup that looks truly professional, incorporate these skincare steps before reaching for your foundation:

  1. Gentle Cleansing: Always start with clean skin, removing any residue, oil, or previous products. A gentle pH-balanced cleanser maintains your skin barrier while preparing the surface.
  2. Exfoliation (Not Daily): Regular but moderate exfoliation (2-3 times weekly) removes dead skin cells that can cause makeup to appear patchy or cling to dry areas.
  3. Targeted Treatment: Address your specific concerns with serums containing active ingredients like vitamin C (for brightness), niacinamide (for pore refinement), or hyaluronic acid (for hydration).
  4. Moisturize: Even oily skin needs hydration. Choose a moisturizer appropriate for your skin type to create a smooth, plumped surface.
  5. Sun Protection: SPF is non-negotiable, even on cloudy days or when staying indoors. UV damage accelerates aging and creates texture issues that makeup can't conceal.
  6. Primer: The bridge between skincare and makeup, primers address specific concerns while creating an ideal base for foundation.

Matching Your Skincare to Your Makeup Goals

Different makeup looks require different skincare preparation:

  • For a dewy finish, focus on hydrating products and facial oils
  • For long-wearing makeup, use mattifying primers on oily areas
  • For minimal makeup, invest in treatments that address tone and texture over time

The Long-Term Relationship

While skincare provides immediate benefits for makeup application, the most significant advantages come from consistent care over time. As your skin's health improves, you'll likely find yourself reaching for lighter coverage products and focusing more on enhancement rather than concealment.

Remember that healthy skin is beautiful in any light, while makeup—no matter how expertly applied—can look obvious or problematic in certain lighting conditions if the underlying skin isn't well-maintained.

Invest time in understanding your skin's unique needs, be patient with results, and consider consulting with a dermatologist for personalized advice. Your future self (and your makeup) will thank you!

Finding Your Perfect Red Lipstick

Finding Your Perfect Red Lipstick: A Comprehensive Guide

Red lipstick is timeless, powerful, and transformative—yet finding your perfect shade can feel overwhelming. With countless variations in undertones, finishes, and formulations, the search for "the one" often leads to a drawer full of almost-right options.

Understanding Undertones: The Key to Red Lipstick Success

The most crucial factor in finding your ideal red is understanding undertones—both yours and the lipstick's:

  • Blue/Cool Undertones: Blue-based reds create a striking contrast against fair skin with pink undertones and make teeth appear whiter. These include raspberry reds, crimson, and classic true reds.
  • Orange/Warm Undertones: Orange-based reds complement golden, olive, and warm skin tones beautifully. These include brick reds, tomato reds, and coral-tinged reds.
  • Neutral Undertones: These versatile reds work for most skin tones and include cranberry reds and true balanced reds.

How to Determine Your Undertones

Not sure about your undertones? Use these simple methods:

  • Vein test: Blue veins often indicate cool undertones, green veins suggest warm undertones, and a mix indicates neutral undertones
  • Jewelry test: If gold jewelry flatters you more, you likely have warm undertones; if silver looks better, you probably have cool undertones
  • Sun reaction: If you burn easily, you likely have cool undertones; if you tan readily, you probably have warm undertones

Beyond Undertones: Other Considerations

Intensity and Depth: Your natural coloring affects what intensity of red looks most harmonious. Those with high contrast (very fair skin with dark hair, or deep skin tones) often carry bold, vibrant reds beautifully. Lower contrast coloring may be complemented by softer, more muted reds.

Finish Matters: The finish of your red lipstick dramatically affects its wearability:

  • Matte: Long-lasting but potentially drying; creates a bold, sophisticated look
  • Satin: The most versatile finish with moderate shine and comfort
  • Cream: Comfortable with moderate shine; may require more frequent reapplication
  • Gloss: Youthful, hydrating appearance with shortest wear time
  • Sheer: Most approachable for red lipstick beginners; offers a subtle wash of color

Application Techniques for Perfect Red Lips

A flawless red lip requires precision:

  1. Prep lips with gentle exfoliation and balm (blot excess before application)
  2. Use a matching lip liner to define edges and prevent bleeding
  3. Apply lipstick with a brush for precision, building in thin layers
  4. Clean edges with a small concealer brush if needed
  5. For maximum longevity, apply, blot with tissue, dust with translucent powder, and apply a second coat

Remember that confidence is the best complement to red lipstick. The "perfect" red is ultimately the one that makes you feel powerful, beautiful, and authentically yourself when you wear it.

Don't be afraid to break conventional rules—makeup is about personal expression, not rigid formulas. Trust your instincts and enjoy the journey to finding your signature red!

Makeup for Photoshoots

Makeup for Photoshoots: Professional Techniques for Camera-Ready Looks

Creating makeup that photographs beautifully requires a specific approach that differs from everyday application. As professional makeup artists who regularly work on photoshoots, we've developed techniques that ensure our clients look flawless both in person and on camera.

Understanding Photography and Lighting

Before applying a single product, it's essential to understand the photography environment:

  • Natural vs. Studio Lighting: Natural light is generally more forgiving, while studio lighting (especially flash) can highlight texture and emphasize any makeup errors
  • Color Temperature: Warm lighting requires cooler-toned makeup to compensate, while cool lighting may require warmer makeup
  • Black & White Photography: Focuses entirely on contrast and dimension, requiring stronger contouring and highlighting

Foundation: Creating the Perfect Base

The camera captures every detail, making foundation selection and application crucial:

  • Choose foundations labeled "photographic" or "HD" that are specially formulated to look natural on camera
  • Avoid formulations with SPF for professional shoots, as they can create flashback (appearing white in flash photography)
  • Match foundation precisely to neck and chest for seamless transitions
  • Build coverage gradually in thin layers rather than applying one thick layer
  • Use a damp beauty sponge for a skin-like finish that photographs naturally

Strategic Powder Application

While dewy skin is trendy, strategic powder application is essential for photography:

  • Use translucent setting powder on the T-zone to prevent shine appearing as "blown out" areas in photos
  • Avoid over-powdering which can age the skin and create texture
  • Consider using finely-milled HD powders specifically designed for photography

Dimension and Contouring

Cameras tend to flatten features, making dimensional techniques essential:

  • Contour with products 2-3 shades deeper than the skin tone (avoid orange or gray undertones)
  • Place contour strategically to enhance bone structure under specific lighting conditions
  • Use cream products for natural dimension, followed by powder products for longevity
  • Remember that contouring should be more dramatic for photography than for everyday wear

Eyes that Speak Through the Lens

Eyes are the focal point in most portraits:

  • Define the crease more dramatically than you would for everyday makeup
  • Tightline upper lashes to eliminate gaps between eyeliner and lash line
  • Consider individual false lashes for a natural yet enhanced look
  • Avoid overly shimmery eyeshadows which can create unflattering reflections

Lips that Last Through the Shoot

  • Exfoliate and hydrate lips before color application
  • Use a matching lip liner to prevent color bleeding
  • Apply lipstick with a brush for precision
  • For long shoots, use long-wearing formulas and keep the color accessible for touch-ups

The most important aspect of photoshoot makeup is testing. Whenever possible, take test photos using similar lighting conditions to identify how the makeup translates on camera. Make adjustments accordingly before the actual shoot begins.

Remember that photoshoot makeup often looks more intense in person than it does on camera. Trust the process and the lens will reveal a beautifully balanced final result.

Makeup for Different Eye Shapes

Mastering Makeup for Different Eye Shapes

Eye makeup is perhaps the most personalized aspect of any beauty routine. While trends come and go, understanding how to work with your specific eye shape creates the most flattering and enhancing results. As professional makeup artists, we've developed techniques that celebrate the unique beauty of every eye shape.

Identifying Your Eye Shape

Before diving into techniques, it's important to accurately identify your eye shape. Look straight into a mirror with a relaxed expression and observe:

  • Is your crease visible when your eyes are open?
  • Do your eyes tilt upward or downward at the outer corners?
  • Can you see white all around your iris, or is it partially covered by your lids?
  • How much space exists between your lashes and brows?

Almond Eyes

Considered the most versatile eye shape, almond eyes have a visible crease and are slightly lifted at the outer corners.

Enhancing techniques:

  • Most eyeshadow placements work well; experiment freely
  • Create depth by darkening the outer V
  • Wing liner follows the natural upward tilt

Monolid Eyes

Monolids have little to no visible crease when eyes are open, creating a flat surface from lash line to brow bone.

Enhancing techniques:

  • Use gradient eyeshadow application, darkest at the lash line gradually fading upward
  • Create dimension with matte shadows rather than attempting to create a "fake" crease
  • Extend eyeshadow beyond the outer corner for elongation
  • Try "floating" liner slightly above the lash line so it's visible when eyes are open

Hooded Eyes

Hooded eyes have excess skin folding down from the brow bone that covers the crease and sometimes part of the mobile lid.

Enhancing techniques:

  • Apply transition and crease colors with eyes open to ensure placement is visible
  • Focus darker colors above the natural crease so they're visible when eyes are open
  • Use matte formulas to create depth and minimize further hooding from shimmer
  • Try "bat wing" liner technique that accounts for the hood
  • Tightline upper lashes to define eyes without sacrificing lid space

Downturned Eyes

Downturned eyes have a slight downward tilt at the outer corners.

Enhancing techniques:

  • Focus darker shadow on the outer third, blending up and out toward the end of the eyebrow
  • Wing liner should angle upward to counterbalance the downward tilt
  • Concentrate mascara on the center and outer lashes, curling them upward
  • Keep the lower lash line lighter toward the outer corner

Round Eyes

Round eyes show visible white all around the iris and appear more circular than almond-shaped.

Enhancing techniques:

  • Extend eyeshadow outward to elongate the eye shape
  • Focus darker colors on the outer and inner corners to create an almond effect
  • Winged liner helps elongate the eye
  • Apply darker shadow or liner on the outer third of the lower lash line

Deep-Set Eyes

Deep-set eyes are recessed deeper into the socket with a prominent brow bone.

Enhancing techniques:

  • Use light, reflective shades on the lid to bring forward
  • Avoid dark colors in the crease which can make eyes appear more recessed
  • Highlight under the brow bone with restraint
  • Tight line upper lashes to define without creating shadows

Remember that these guidelines are starting points, not rules. The most beautiful makeup comes from understanding your unique features and adapting techniques to enhance what makes your eyes special.

Practice is essential—take photos in different lighting to see how techniques translate, and don't be afraid to combine approaches from different eye shape recommendations if they work for you.

Explore by Category